How to Assemble Your Wedding Invitations: A Simple Step-by-Step Guide
Your wedding stationery has officially been printed, lovingly packaged, and is now on its way to you — cue the happy dance! ✨ As you get ready to assemble and mail everything out, here are a few helpful tips to make the process smooth, stress-free, and (dare I say) a little fun.
Whether you're using vellum jackets, wax seals, or sending a suite with layered cards, these simple steps will help you put everything together beautifully. Below is a quick video to walk you through the process, followed by easy step-by-step instructions.
1. Prepare Your Workspace
Before you dive in, start by setting up an inviting assembly area.
Choose a clean, flat surface with good lighting.
Wash and completely dry your hands to avoid any smudges or fingerprints.
I recommend laying down a foam poster board — it provides a soft, protective surface that keeps your cards pristine and helps prevent dents or compression marks.
Taking a few minutes to prep your space will make the rest of the process much easier (and way more enjoyable).
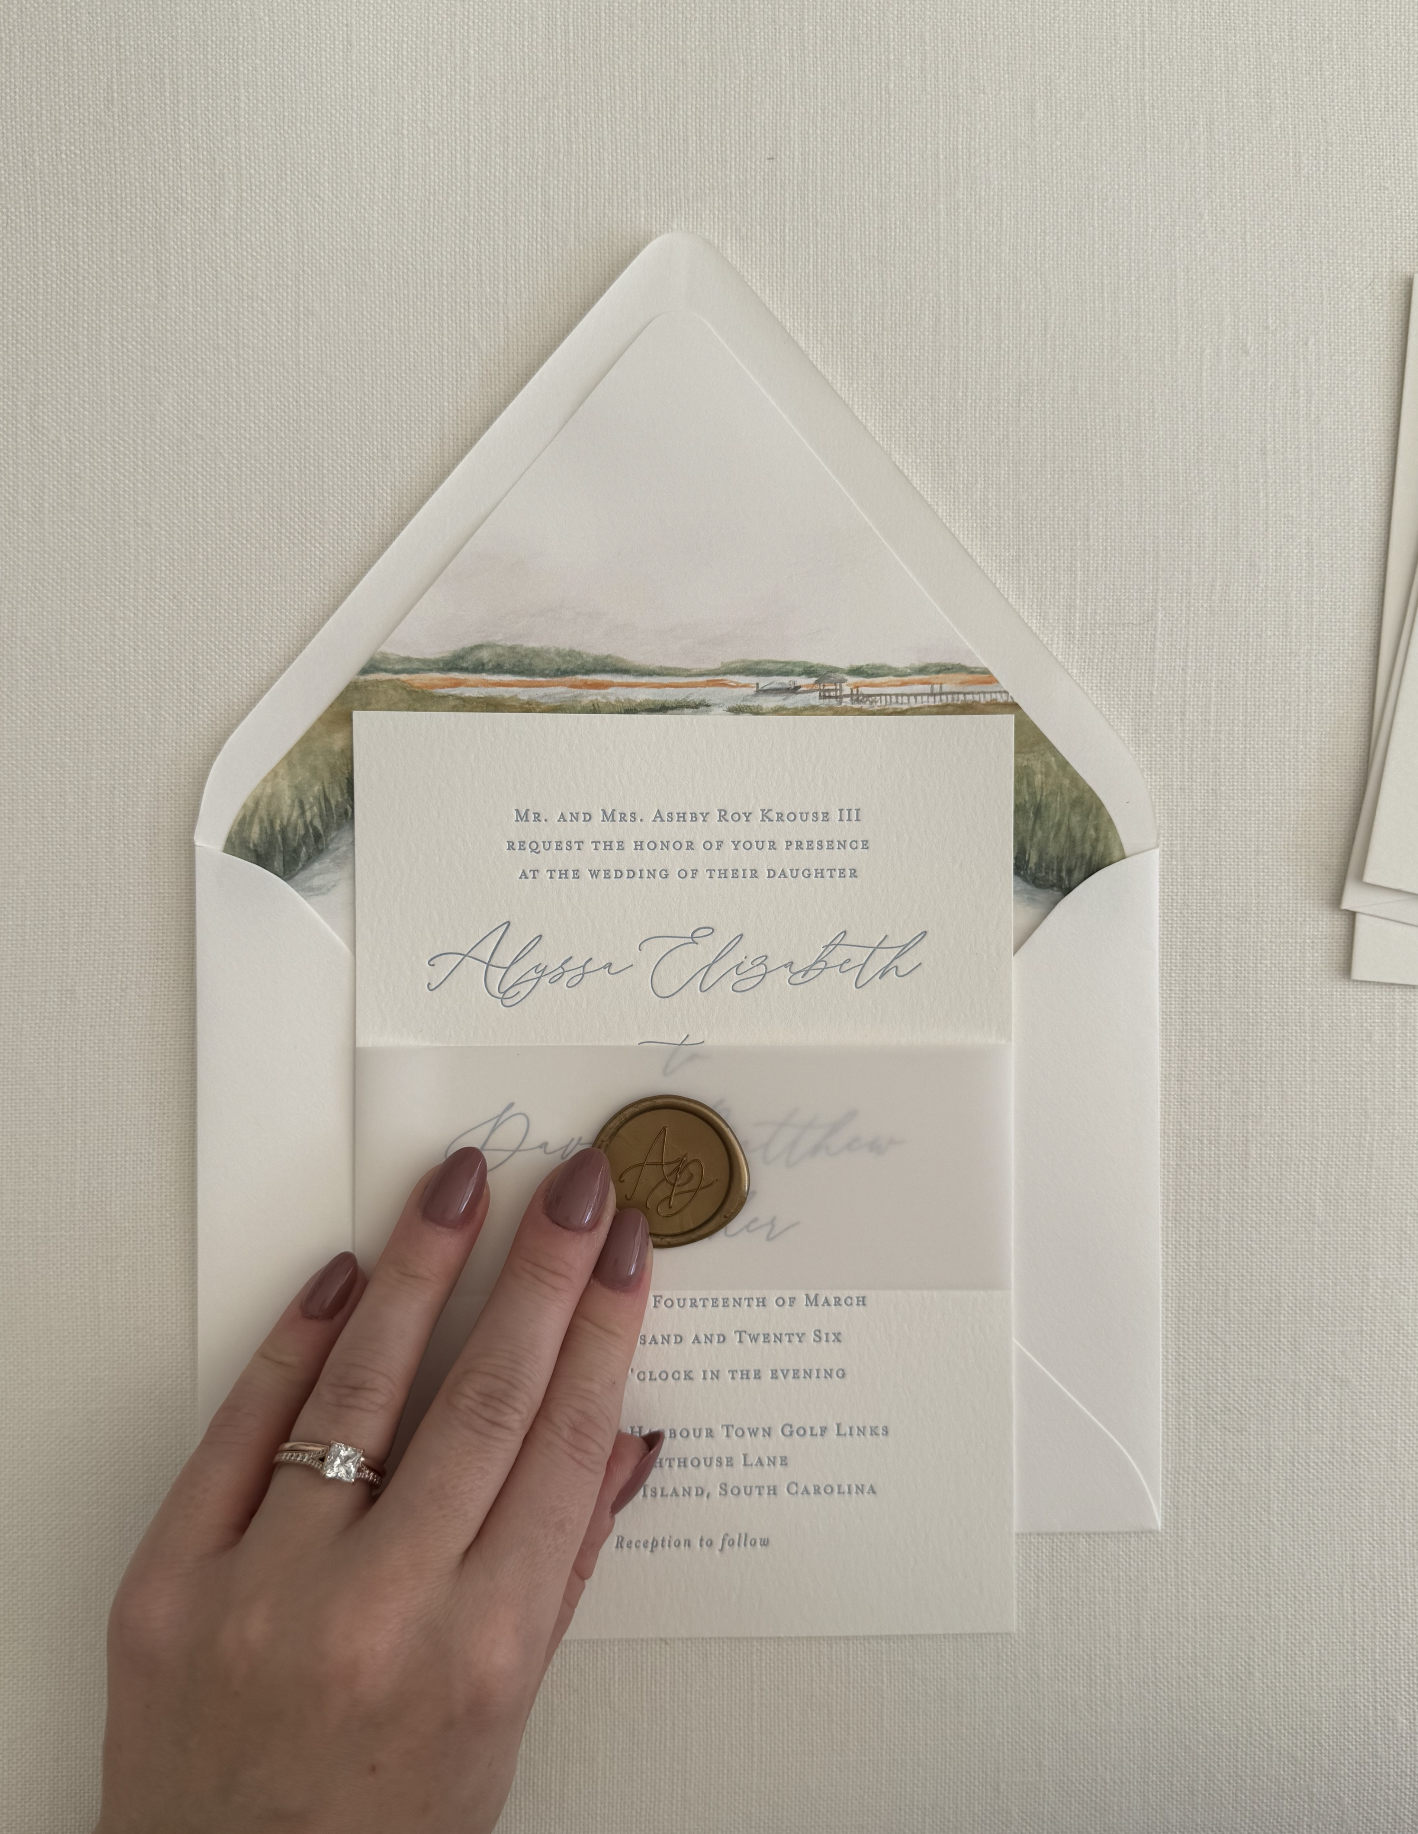
2. Vellum Jackets & Belly Bands
Vellum jackets add such a romantic, elevated touch — and assembling them is easier than you might think.
How to assemble:
Wrap the vellum around the invitation card first to get the tightest, cleanest fit.
Once secured, slide the remaining stacked cards inside.
Use the glue dots provided to adhere the band or jacket to itself on the back (no need to glue to the card).


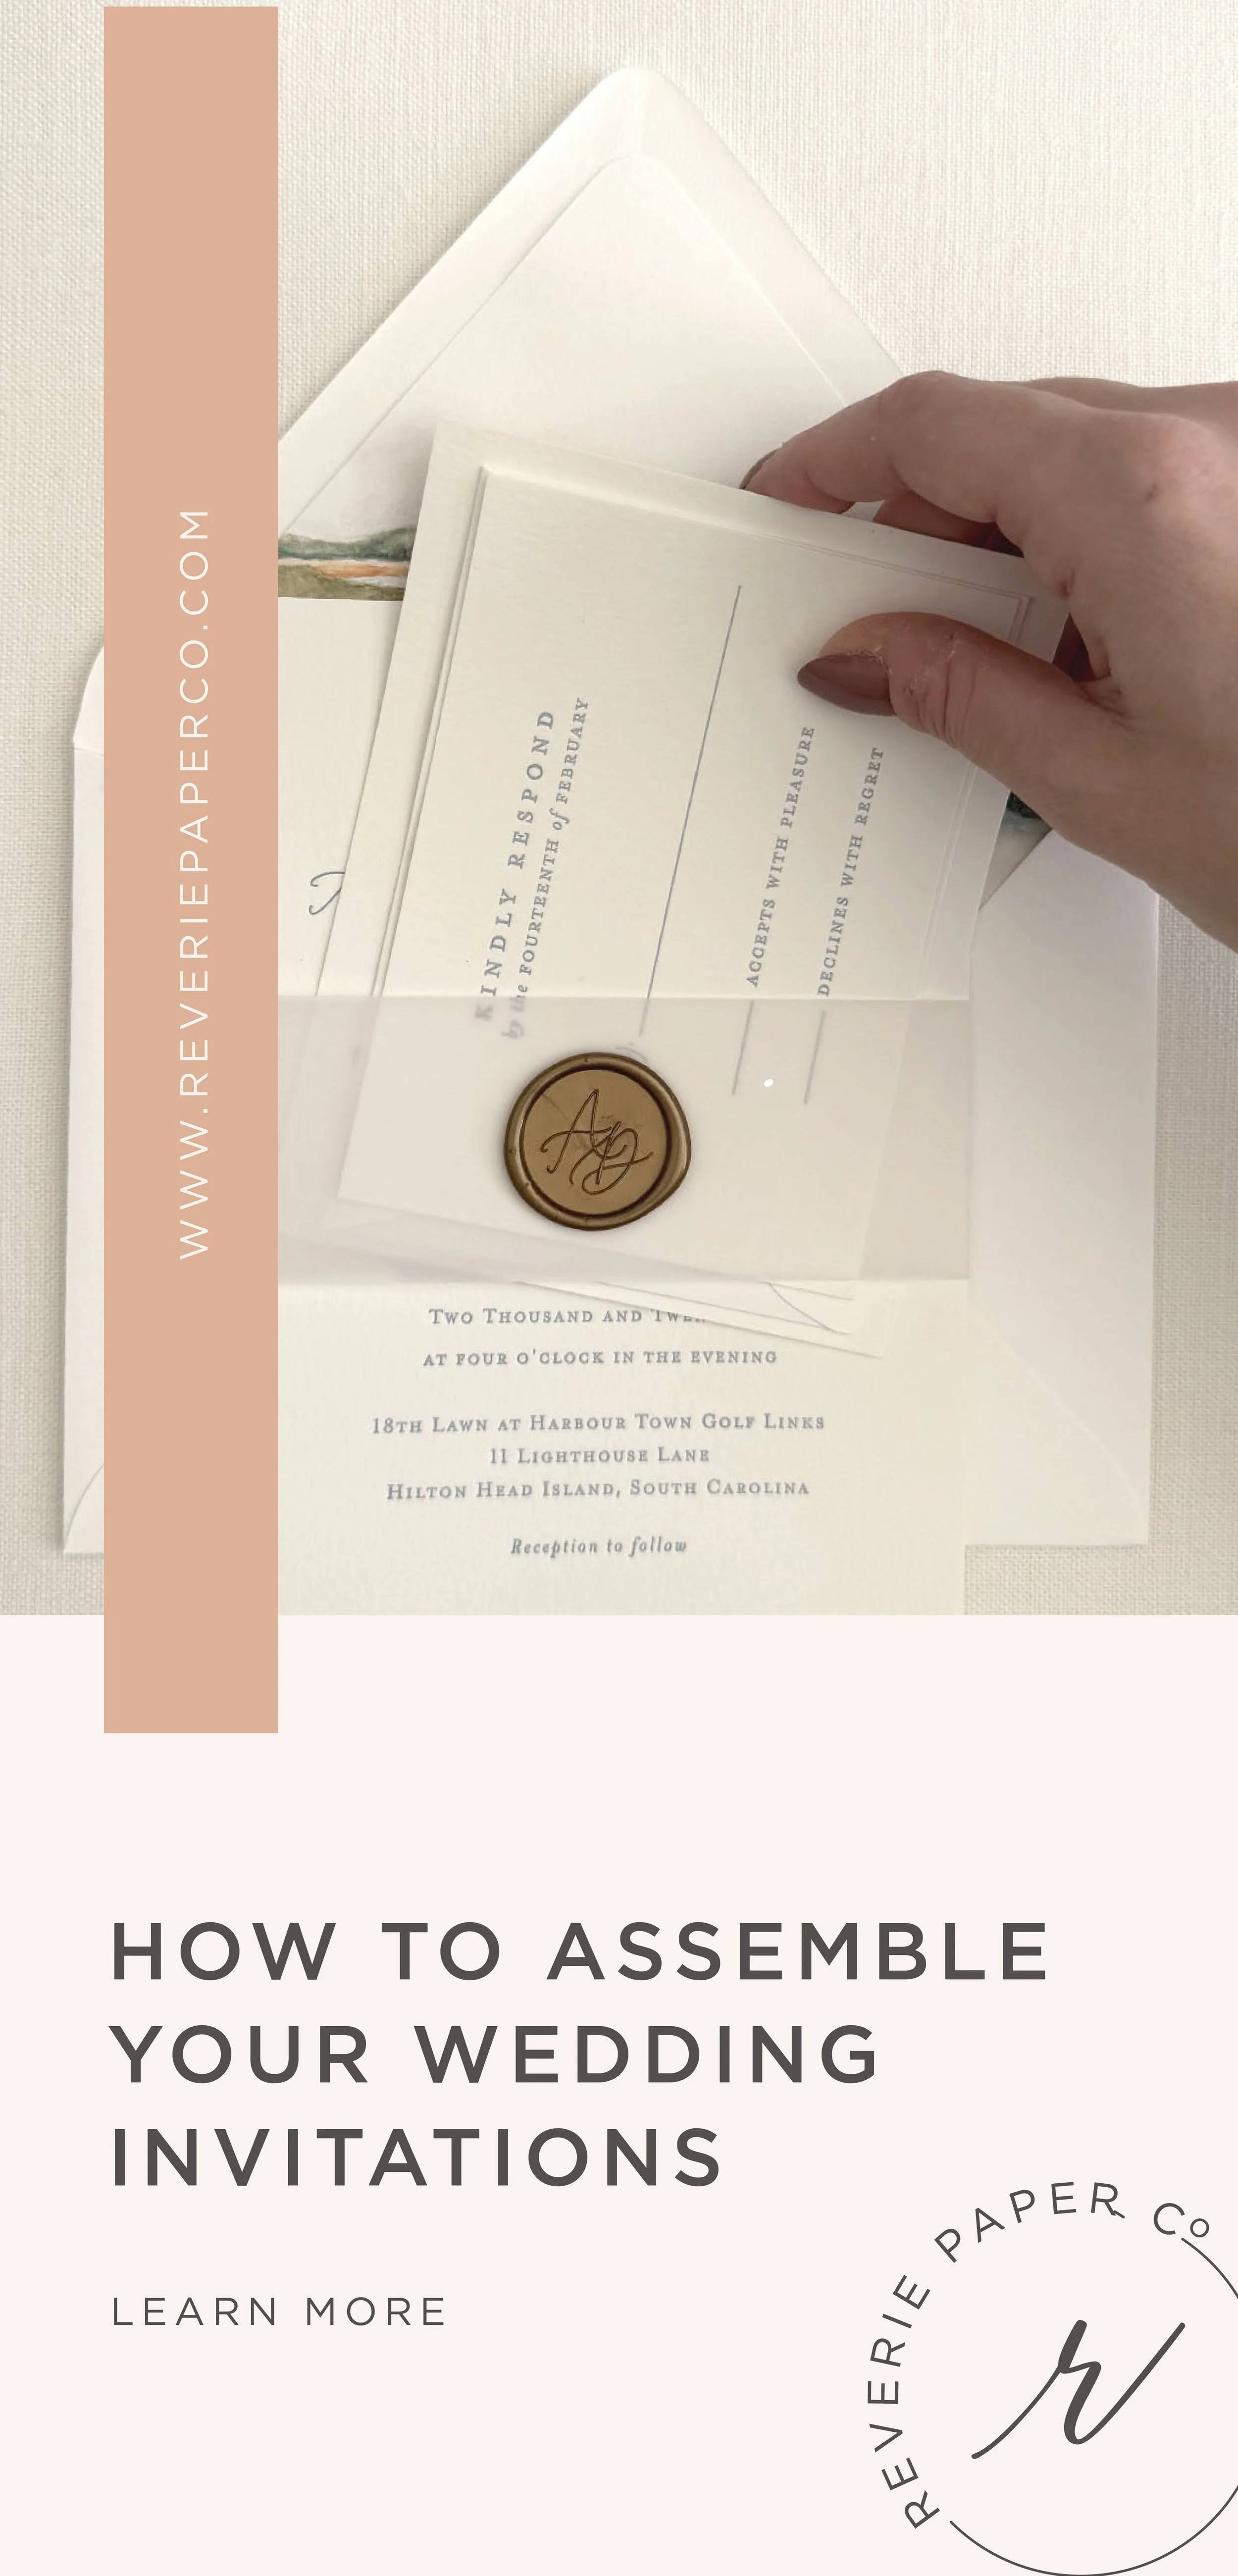
3. Applying Wax Seals
Wax seals are the easiest — and most satisfying — finishing touch.
Simply peel off the adhesive backing and apply your seal wherever needed.
Press firmly for a clean bond.
Avoid placing wax seals on outer envelopes — they can catch or tear in USPS sorting machines.

4. Arrange Your Insert Cards in the Correct Order
Once your workspace is ready, it’s time to stack your cards in the traditional, easy-to-read invitation order.
Here’s the recommended card arrangement:
Start with the invitation card on the bottom
Place the main invite at the bottom of your stack with the top of the card on the left when you prepare to slide it into the envelope.
Layer from largest to smallest
Stack your supporting cards — details, accommodations, reception, etc. — from largest to smallest.
This creates a clean cascading effect and keeps everything aligned for your guests.
RSVP card placement
If your RSVP card is horizontal, place it so it is upright when inserted into the envelope.
If your RSVP card is vertical, align it like the rest: top of the card on the left.
Why this matters
This orientation ensures that when your guests open the envelope, every card appears right-side-up and easy to navigate. It also prevents shifting during mailing.


5. Sealing Your Envelopes (Save Your Tongue!)
Envelope adhesives vary, so a gentle, even approach works best.
Use a slightly damp sponge or water pen to wet the seal.
If a flap isn’t sticking, reinforce it with a little glue stick.
Press the flap firmly and allow time to dry before stacking.
Remember: too much water can wrinkle the paper — less is more!


6. Understanding Postage (And Avoiding USPS Surprises)
This step is crucial to ensure everything arrives safely and on time.
Bring one fully assembled suite to the post office for an accurate weight.
Ask whether it qualifies as non-machinable, which applies if your suite is:
Square
Thick or dimensional
Wrapped with ribbon
Includes wax seals or layered embellishments
Request hand-cancelling to minimize smudging or damage.
Don’t forget postage for the RSVP envelopes (one Forever stamp works perfectly).
Final Thoughts
Assembling your invitations is such a special milestone — a moment where your vision truly comes to life. Take your time, enjoy the process, and savor this little piece of your wedding story. And if you ever have a question, I’m here and happy to help.